Mr. Roboto Printing Process
March 28th, 2008
I had decided to screenprint a series of prints to mark the beginning of my personal blog. I always liked robot imagery and I had a graphic already drawn and scanned for another job, which went unused, so I drafted it in for use in this project.
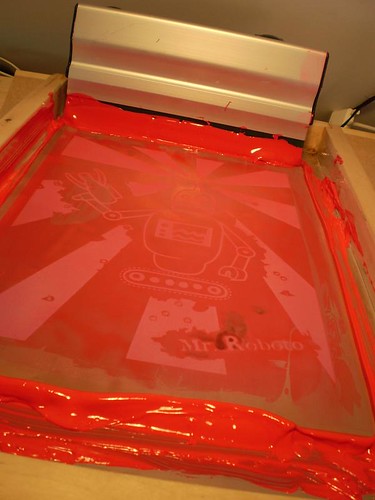
I created the artwork, for outputting onto acetate and I made the screens. I won’t go into the details of making the screens as there are plenty of great tutorials available online (Such as this and this and this), and there was quite a delay between making the screens and printing the prints. (It was actually four or five months before I got to print them, as work and life got in the way, and I didn’t take any photos of the screen making process.)
Anyway, in February, I had the time to start. The spec of the print was two colours, a base colour (a lighter shade) and the overprint colour (the main colour of the print). My stock of choice was 280 micron white pulp board. When a stock is specified in microns, it refers to the thickness, rather than the weight (weight would be in grams per square metre or lbs in imperial measurement). I chose this stock as it’s substantial in weight and thickness and has a slightly rough feel to it, as opposed to the smooth digital stock which is more common in Irish printing companies.
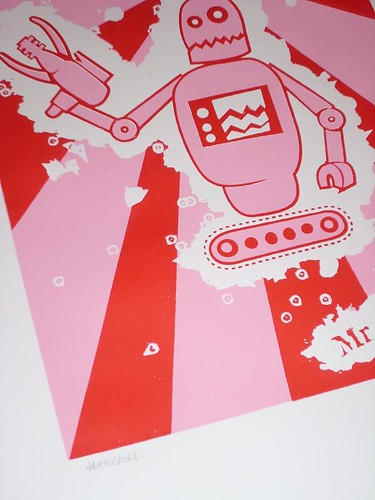
I wanted to do three colour schemes so I did up some variations in Illustrator, which can be seen below.

In retrospect, I don’t think I will be printing three different colour schemes (of two colours) on a project again. It is a lot of cleaning between print runs. I think I spent more time cleaning than I did printing.
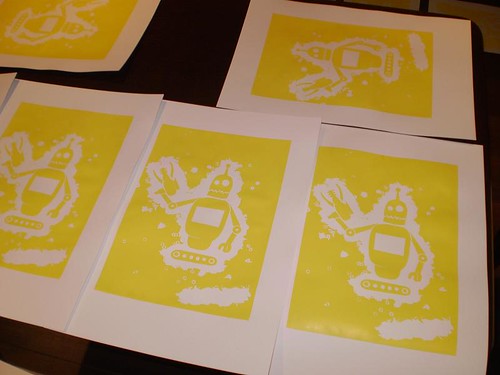
Back to the printing. I started with the yellow/orange combination and printed about thirty yellow prints. I actually did a lot more but I was getting a lot of smeared prints. I suspected my squeegee blade (made of rubber) was going blunt so I turned it around and kept printing. It held up ok. Once the first colour of the first print was done (and every flat surface in my house covered with drying prints), I retired for the evening, as the prints would have to dry at least three or four hours before stacking.
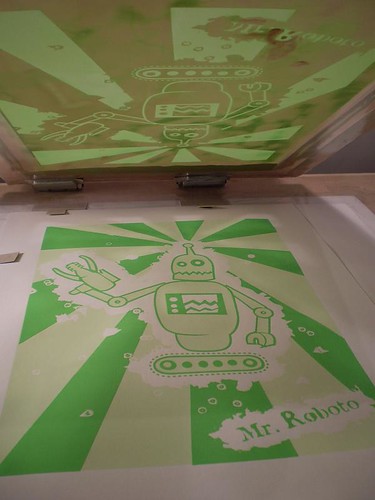
A couple of nights later, I printed the second base colour, a minty green. Whereas I used pure Process Yellow ink for the first print, I mixed the minty green with approximately four parts white with one part leaf green. It was a better print run than the first, less losses but I still ordered new squeegees anyway, as I had four more print runs to do and I didn’t want to chance an old unreliable squeegee.

I finished the second print run and waited a few days for my squeegees to arrive from the supplier. I ordered two aluminium 11″ squeegees, one for acrylic-based ink and one for smelly solvent inks. I could probably use the same squeegee but it’s more convenient to have two, just in case.
Once I got my new squeegees, I went back to printing, starting with the third base colour, pink. As with the mint green, I mixed the pink using approx. four parts white with one part cadmium red.
My new squeegee made the printing so much easier and I quickly printed the pink base colour, then cadmium red (over the pink).
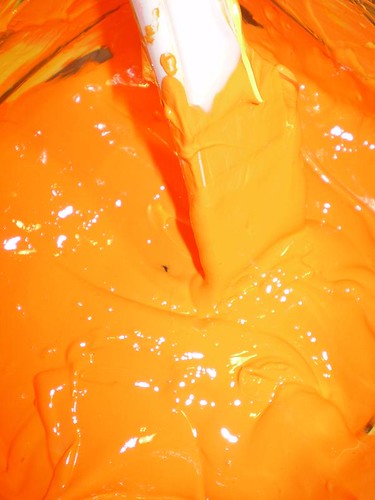
I had a Cadmium Orange ink for the yellow base coat but I thought it was too deep, almost red, which gave it the look of a McDonalds promotion. I mixed some yellow in with the orange and brightened it up, which I then printed over the Process Yellow base colour.
The last print run was pure Leaf Green over my mixed mint green. It printed without a problem and I had finally gotten all three prints done. I then went about cleaning the equipment and the surrounding equipment.
It was again about a month before I had a chance to sign and number the prints, during that time, I built this blog and tried to earn a living building other websites.
The most satisfying part of the job is signing and numbering the prints. I managed an edition of twenty of each colour scheme (as well as loads of printers’ proofs and odd colour mismatches).
Some of the registration between the two colours is a bit loose but that is what is expected when stuff is hand printed. Usually a large overlap is allowed, especially with screen printing (whether it’s automatic or manual) as it is not the more accurate of printing processes. Unfortunately, due to the artwork, I could have an overlap around the edges. I think the discrepencies add character to the prints and make them individual prints as opposed to exact reproductions. They are available to purchase individually or as a reduced-priced group of three. Please visit my shop to buy them securely through PayPal.
View all the photos from this set (about thirty photos) in my Flickr Account.
My next project will be another two colour print but I have a few ideas to make it a unique print.
Post by John Rainsford
